Pax Invaders Flashpod Assembly Instructions


These instructions are for the Pax Invaders Flashpod kit for the R*MIL MEN toy line.
TOOLS NEEDED:

-
Hobby Clippers (for cleaning and removing support bits)
-
Superglue (in case of broken pieces or if some parts are too loose)
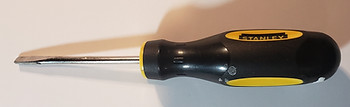
-
Flathead Screwdriver (or similar tool, for opening pod bay doors initially)
PARTS NEEDED IN THESE STEPS:

-
The parts used for this kit are all from the single Flashpod sprue.


-
Snap in a rotation bar to the fuselage as shown.

-
Repeat on the other side.
-
Insert ratchet mechanism to inside of Left engine as shown. Note the side with grooves are facing outside.


-
Insert Left engine to rotation bar as shown, all the way until it is resting against the fuselage.

-
Repeat for the Right engine by inserting the ratchet mechanism similarly to the Left side and inserting it into on the rotation bar as shown.


-
Snap on the hood to the fuselage as shown.


-
Insert the larger mounting peg into the Left engine as shown.
-
Repeat for the Right engine.


-
Using a flathead screwdriver, or similar tool, insert it into the slot below the pod door as shown, and twist it to break it free.

-
Repeat for the other doors on this and the other pod. The doors should snap close and be easily re-opened.


-
Snap the Left pod onto the Left engine arm's mounting peg as shown.

-
Repeat for the Right side.


-
Insert the smaller mounting peg into the Left pod as shown.
-
Repeat for the other side.


-
Insert a grill cap onto the pod's smaller mounting peg as shown.

-
Repeat for the other side.

-
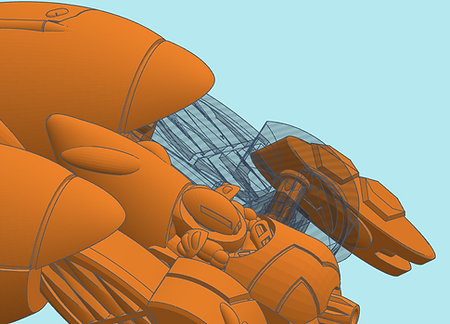
Insert the Left emitter onto the left rotation bar as shown. The emitter should NOT be able to rotate in place once mounted.

-
Repeat for the other side. Your Flashpod is now complete.

-
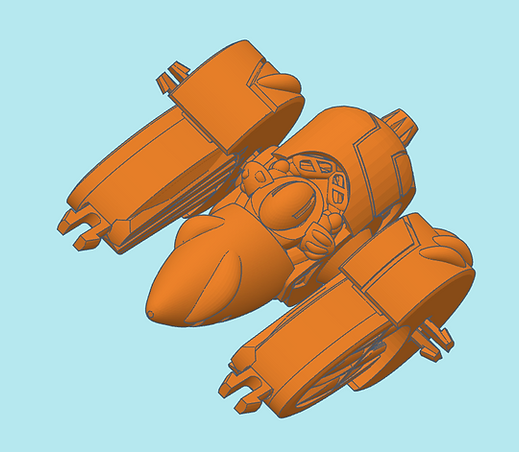
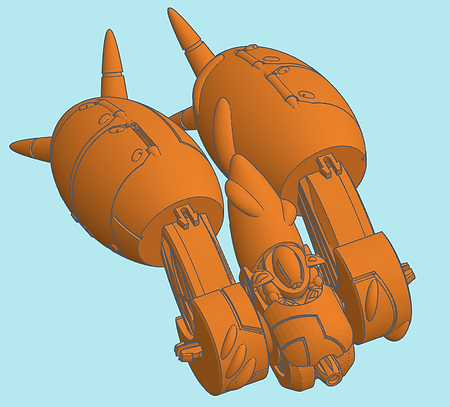
The Flashpod is in hover mode. To transform into walker mode, rotate the pods down as shown.

-
The Flashpod should balance on a flat surface with the pods acting as legs.
-
If you have further kits to assemble, return to the R*MIL MEN main menu for assembly instructions.
